 logo
logo
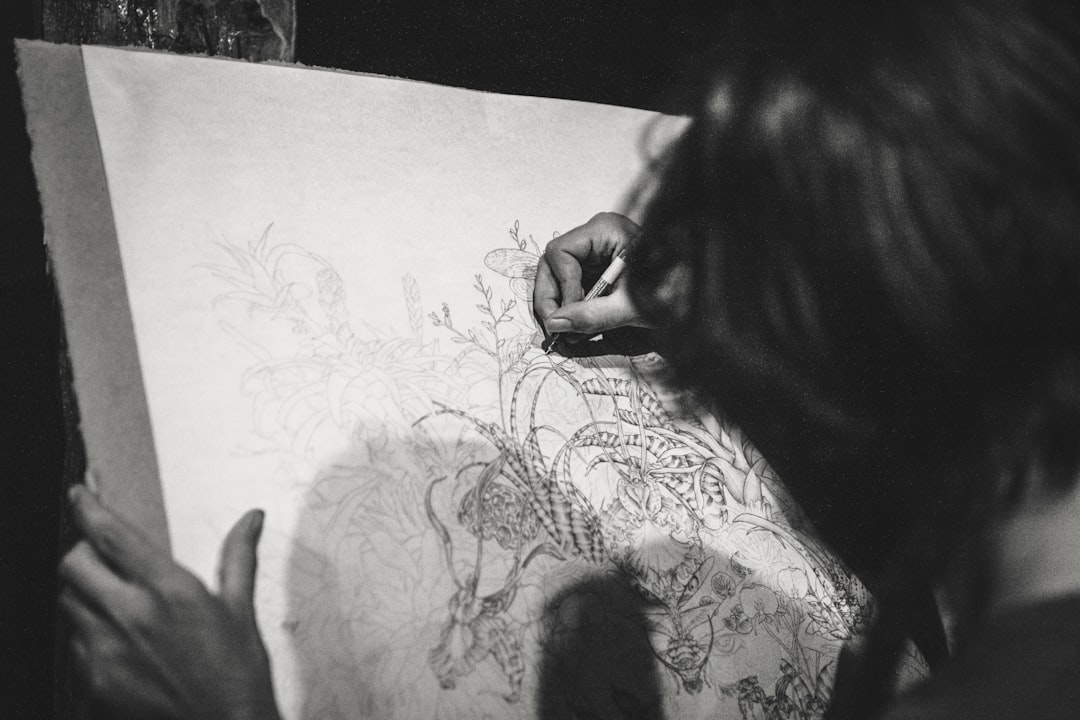
Curved lines give design work rhythm, softness, motion, and personality. Whether an illustrator is sketching a character, a logo designer is refining a mark, or a layout artist is guiding the viewer’s eye, curves can make a composition feel more natural and expressive. Mastering them does not require expensive tools or advanced training; it simply requires practice, observation, and a few reliable techniques.
TLDR: Drawing curved lines becomes easier when designers and illustrators combine hand control, construction methods, and digital tools. Simple techniques such as ghosting, using guide points, rotating the canvas, and working with Bézier handles can dramatically improve accuracy. The best results usually come from building curves gradually rather than trying to create a perfect line in one attempt.
1. Use the Ghosting Method
The ghosting method is one of the simplest ways to draw smoother curves by hand. Before making a final mark, the artist moves the hand or stylus over the intended curve several times without touching the surface. This rehearsal helps the muscles understand the movement.
Once the motion feels natural, the line is drawn in a single confident stroke. This technique is especially useful for sketching hair, fabric folds, leaves, and character poses. It reduces hesitation, which is often the main cause of shaky or broken curves.
2. Draw from the Shoulder, Not Only the Wrist
Many beginners try to draw curves using only the wrist. While the wrist is helpful for small details, larger curves often look smoother when created with the whole arm. Drawing from the shoulder allows broader movement and better flow.
For long sweeping curves, illustrators often keep the wrist relaxed and let the elbow or shoulder guide the stroke. This creates a more elegant line and prevents cramped, uneven marks. Practicing large circles and arcs on paper can help build this control.
3. Break Curves into Simple Sections
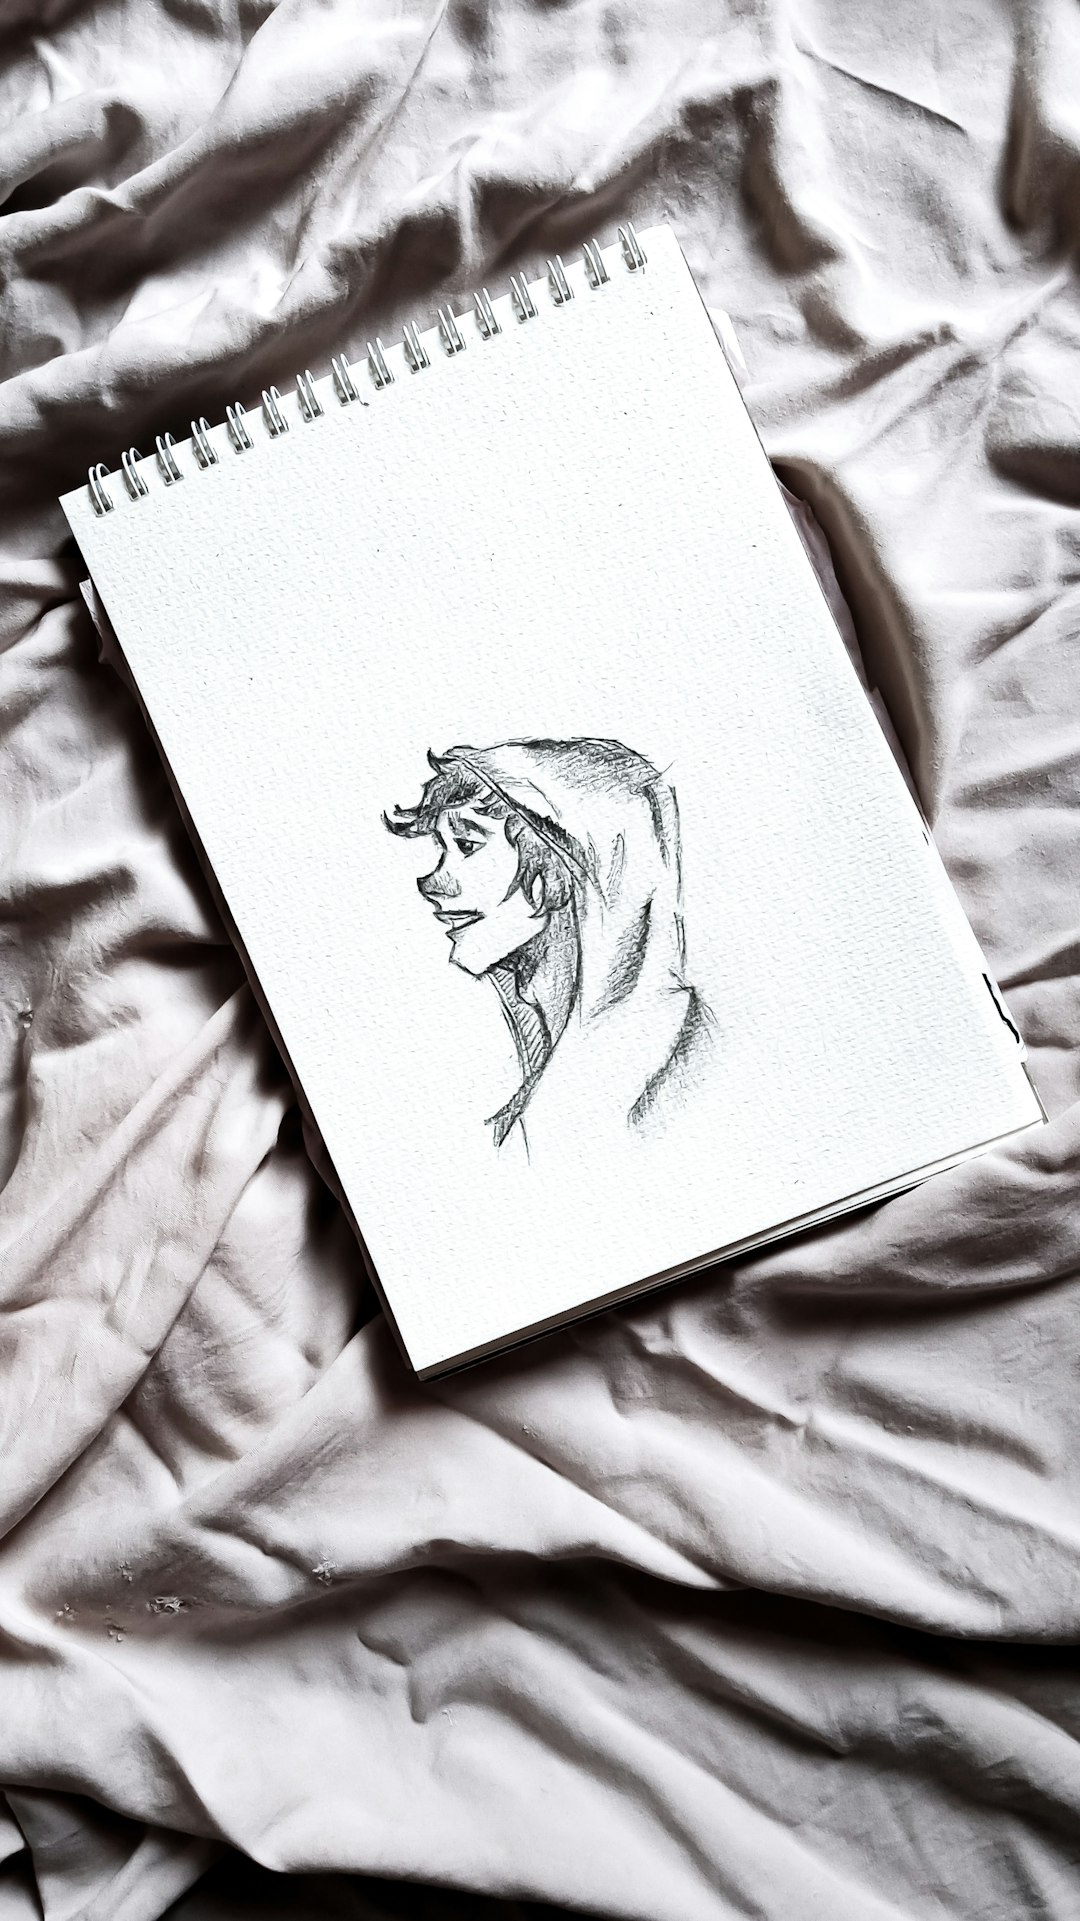
Complex curves can feel intimidating when viewed as one continuous shape. A practical approach is to break them into smaller, manageable sections. For example, the outline of a wave, vine, or animal tail can be divided into a series of simple arcs.
Designers often use this method when building icons or ornamental patterns. Instead of forcing one perfect curve, they construct it piece by piece. The sections can then be blended and refined until the full curve feels natural.
4. Use Guide Points and Anchor Marks
Guide points help control where a curve begins, bends, and ends. Before drawing, the artist can place small dots along the intended path. These dots act like visual stepping stones, making it easier to maintain proportion and direction.
This is especially useful in lettering, logo design, and character illustration, where curves must look intentional. A designer drawing a script letter, for instance, may mark the highest point, lowest point, and turning point of a curve before connecting them.
5. Rotate the Paper or Canvas
One of the most overlooked techniques is simply rotating the paper or digital canvas. Every artist has a natural direction in which the hand moves most comfortably. By rotating the surface, a difficult curve can become much easier to draw.
Digital illustrators often rotate the canvas constantly while drawing. Traditional artists can do the same by turning the sketchbook or sheet of paper. This small habit can greatly improve line confidence and reduce awkward hand positions.
6. Practice Continuous Line Exercises
Continuous line exercises train the hand to move smoothly without stopping. The artist draws loops, spirals, waves, and figure-eight shapes in one flowing motion. The goal is not perfection but consistency.
These exercises strengthen hand-eye coordination and help the artist understand rhythm. Over time, curved lines become less mechanical and more expressive. Even five minutes of warm-up sketches before a project can make finished lines cleaner.
7. Use Ellipses and Circles as Construction Tools
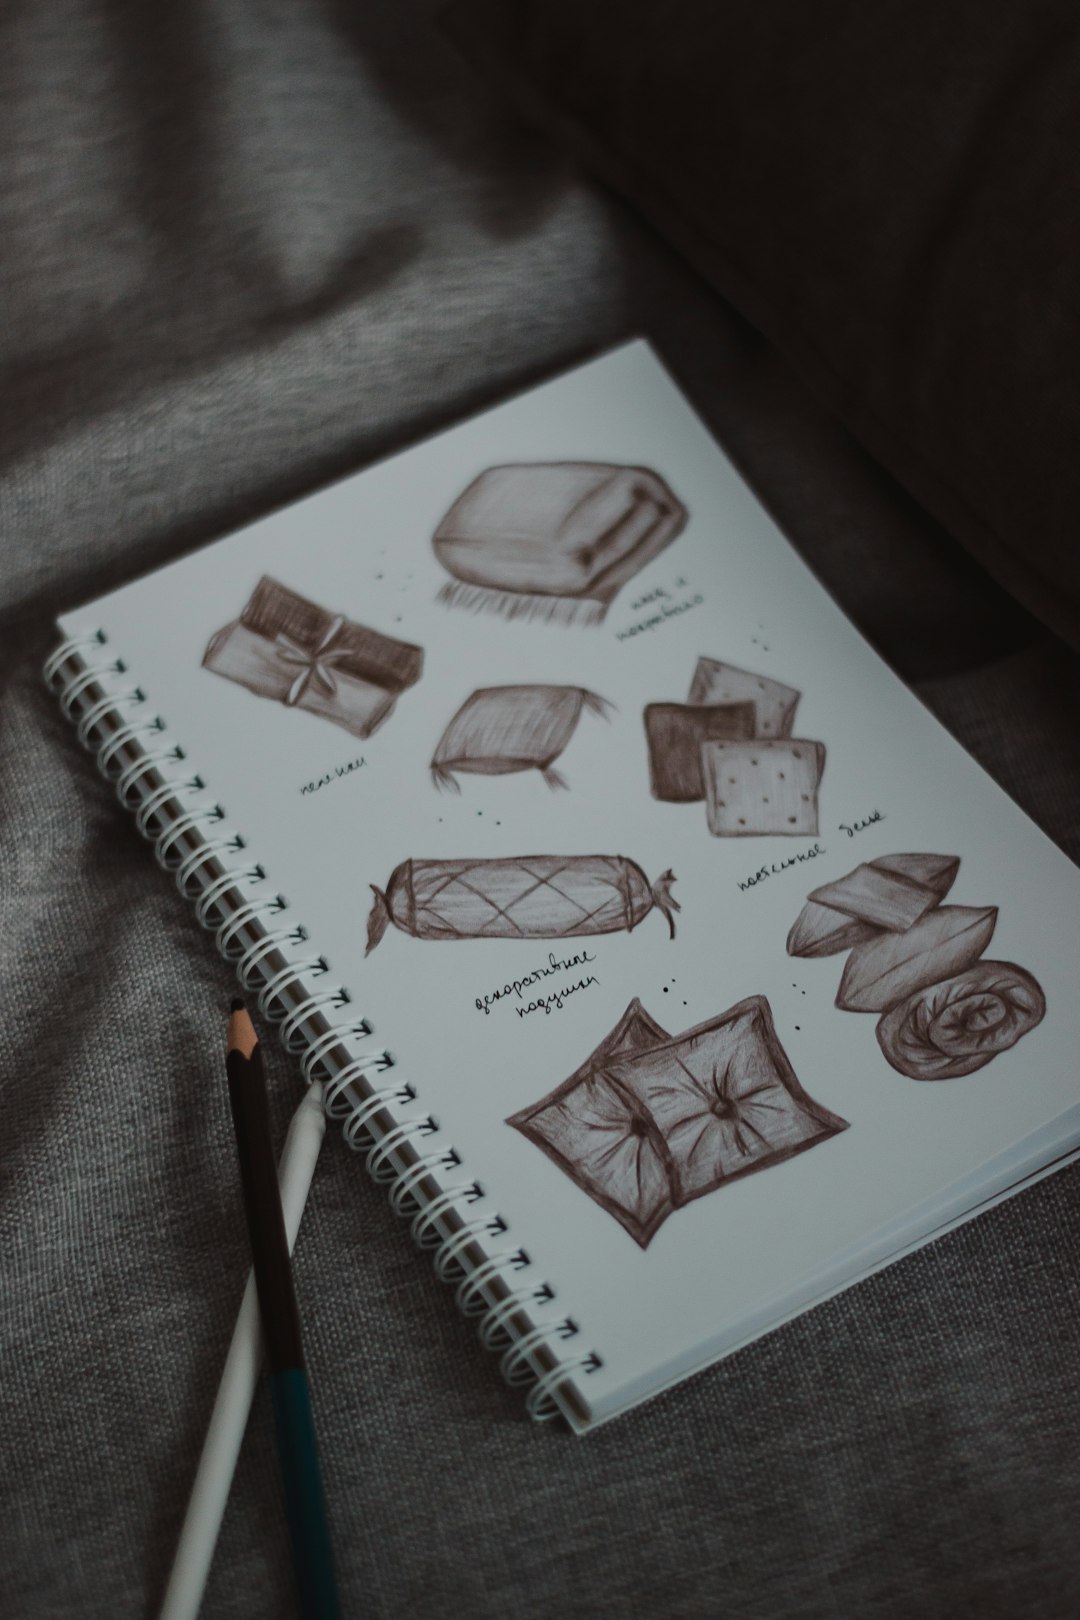
Many curved forms are easier to draw when based on circles or ellipses. For example, a face, flower petal, wheel, cup, or decorative border may begin as a simple geometric shape. The final curve is then refined from that construction.
This method helps maintain symmetry and proportion. Designers creating icons often start with basic circles, then subtract, overlap, or adjust them to form polished curves. Illustrators use the same principle when building bodies, objects, and environments.
8. Master Bézier Curves in Digital Design
For digital designers, Bézier curves are essential. They are created with anchor points and handles that control the direction and tension of a curve. At first, they may seem technical, but they become intuitive with practice.
A good rule is to use as few anchor points as possible. Too many points can make a curve look lumpy and overworked. Clean vector curves usually rely on carefully placed points and balanced handles. This approach is important for logos, icons, typography, and scalable illustrations.
9. Vary Line Weight Along the Curve
A curve becomes more dynamic when its thickness changes. Line weight can suggest shadow, depth, pressure, or movement. For example, a curve may become thicker at the base and thinner at the tip, creating a graceful sense of taper.
Illustrators often use varied line weight in character art, botanical drawing, and comics. Designers may apply it in custom lettering or decorative marks. Even a simple curved line can feel more professional when it has subtle variation instead of uniform stiffness.
10. Refine Curves in Layers
Professional-looking curves rarely appear perfect in the first draft. Many artists begin with a loose sketch, then draw a cleaner curve over it on a new layer or sheet. This layered process allows the hand to explore before committing to the final line.
In digital illustration, layers make this especially convenient. The artist can lower the opacity of the rough sketch and trace a more confident curve above it. In traditional work, tracing paper or light sketching can achieve the same effect. Refinement is often the difference between a rough curve and a polished one.

Common Mistakes to Avoid
- Drawing too slowly: Excessive caution often creates wobbly curves. A confident stroke usually looks smoother.
- Using too many anchor points: In vector work, fewer points often create cleaner curves.
- Ignoring posture: A tense hand, wrist, or shoulder can make lines stiff.
- Skipping warm-ups: Curved lines improve when the hand is prepared with simple exercises.
- Trying to perfect every stroke immediately: Curves benefit from sketching, testing, and refinement.
How Designers Can Build Better Curve Control
Consistent improvement comes from repetition. Designers and illustrators can dedicate a few minutes each day to drawing arcs, spirals, ribbons, waves, and ellipses. Over time, these forms become part of the artist’s visual vocabulary.
It also helps to study curves in nature and existing design work. Shells, leaves, clouds, furniture, typography, and architecture all contain valuable examples. By observing how curves behave in real objects, artists can draw them with more confidence and intention.
Curved lines are not only technical elements; they also carry emotion. A soft curve can feel calm, a sharp sweeping curve can feel energetic, and a spiral can suggest growth or movement. When used thoughtfully, curves can guide attention, create harmony, and strengthen visual storytelling.
FAQ
What is the easiest way to draw smooth curved lines?
The easiest method is often the ghosting technique. The artist rehearses the motion several times before drawing the final line, which helps create a smoother and more confident stroke.
Why do curved lines look shaky?
Curved lines usually look shaky when the artist draws too slowly, grips the tool too tightly, or relies only on the wrist for larger movements. Relaxed motion and proper warm-ups can help.
Are Bézier curves difficult to learn?
Bézier curves can feel difficult at first, but they become easier with practice. The key is learning how anchor points and handles control the curve’s direction and smoothness.
Should curves be drawn in one stroke?
Simple curves often look best when drawn in one confident stroke. More complex curves can be built in sections, refined in layers, or adjusted with guide points.
How can illustrators practice curved lines daily?
They can practice by drawing circles, ellipses, waves, spirals, ribbons, and figure-eight shapes. Short daily exercises help improve muscle memory and line confidence.