 logo
logo
A bright spot on an iPhone screen that stays in the same place is usually a hardware issue, not a setting you can fix. Still, you should rule out display settings first because a few iOS features can make one area look harsher, washed out, or uneven under certain backgrounds.
TLDR: Start with a 10-minute settings check: turn off True Tone, Night Shift, Auto-Brightness, Color Filters, and Reduce White Point, then test the screen on a plain white and gray image. If the bright spot remains fixed, especially on white backgrounds, the odds point strongly toward screen damage or pressure marks. For example, a user who sees a 6 mm bright patch near the keyboard area in every app, after all settings are reset, should treat it as a repair case rather than a software bug. In repair shops, fixed bright spots are commonly linked to panel pressure, liquid exposure, or backlight layer damage.
What an iPhone Bright Spot Usually Means
A bright spot is a small area of the display that looks lighter than the rest of the screen. It may appear white, yellowish, cloudy, or slightly glowing. It is often easiest to see on a white webpage, Notes app, Settings screen, or light gray image.
The key detail is whether the spot moves or stays fixed. If it moves with content, it may be an app, image, reflection, or visual effect. If it stays in the exact same physical place, the display panel is likely involved.
Common hardware causes include:
- Pressure damage from sitting on the phone, tight pockets, clamps, mounts, or swollen internal parts.
- Backlight diffuser damage on LCD iPhones, which can create cloudy white patches.
- OLED panel wear or mura on newer iPhones, often seen as uneven brightness or tint.
- Liquid exposure, even if the phone still works normally.
- Battery swelling, which can push against the display from inside. This needs prompt attention.
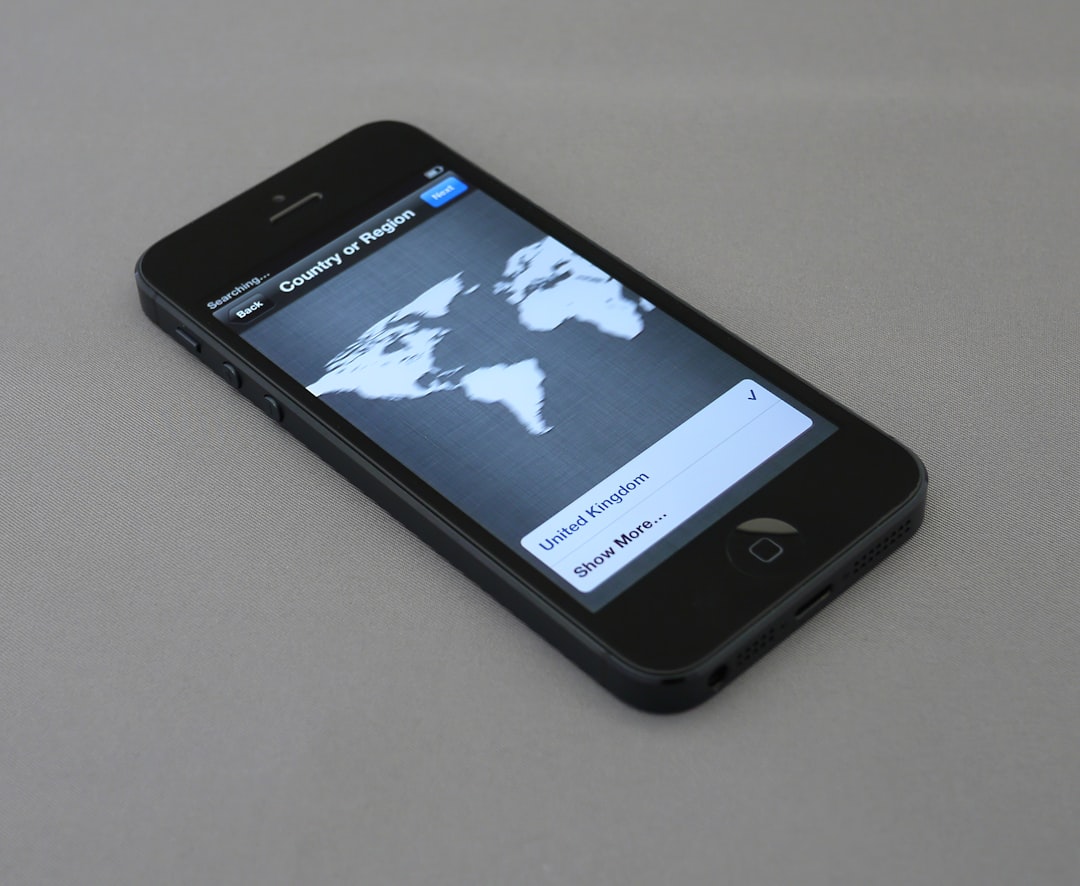
Settings to Check Before Paying for Repair
Do not book a repair before checking iOS display settings. It takes only a few minutes, and it can save you from replacing a screen that is working as designed. The catch is that Apple spreads these controls across several menus, so expect to waste a little time tapping around.
Start with these settings:
- True Tone: Go to Settings > Display & Brightness and turn off True Tone. It changes color temperature based on room lighting.
- Night Shift: In the same menu, turn off Night Shift. It can make whites look warmer or uneven to sensitive eyes.
- Auto-Brightness: Go to Settings > Accessibility > Display & Text Size, then turn off Auto-Brightness for testing.
- Reduce White Point: In Display & Text Size, disable Reduce White Point. This setting changes how bright whites appear.
- Color Filters: Go to Settings > Accessibility > Display & Text Size > Color Filters and make sure it is off.
- Zoom Filter: Go to Settings > Accessibility > Zoom. If Zoom is on, check whether a filter is active.
After that, restart the iPhone. Then test again on a full white screen and a full gray screen. Use the Photos app with plain color images, or open a blank note with brightness set to about 70%. Avoid testing in direct sunlight because reflections can trick you.
How to Tell Software From Screen Damage
Use simple tests. They are not perfect, but they are reliable enough for first sorting.
- Take a screenshot. If the bright spot appears in the screenshot when viewed on another device, it is software or image content. If it does not appear, the physical screen is suspect.
- Rotate the phone. If the spot stays in the same place on the glass, it points to hardware.
- Change brightness levels. Backlight issues may become more obvious at high brightness. OLED uniformity issues may show more on dark gray.
- Test different apps. A spot visible in Settings, Safari, Photos, and the Lock Screen is rarely app-related.
- Remove the case and screen protector. A trapped bubble, dust patch, or pressure from a tight case can look like a display fault.
Honestly, it feels annoying when the phone looks fine most of the time, then shows a bright patch the second you open a white page. That pattern is common. Many display defects are background-dependent.
When Screen Repair Is the Sensible Choice
If the spot remains after settings checks, restart, case removal, and screenshot testing, repair is the realistic path. A true bright spot is not usually cured by an iOS update. Resetting all settings may help with color or brightness behavior, but it will not repair pressure damage inside a display stack.
Repair is more urgent if you notice any of these signs:
- The bright spot is growing.
- The screen is lifting from the frame.
- Touch response is unreliable near the spot.
- There are lines, flicker, green tint, or black patches.
- The phone gets unusually warm near the display.
- The battery drains faster than normal after the spot appeared.
A swollen battery deserves special caution. If the screen is bulging, stop pressing on it. Do not clamp the phone. Do not keep it charging overnight. Have it inspected by Apple or a qualified repair provider.
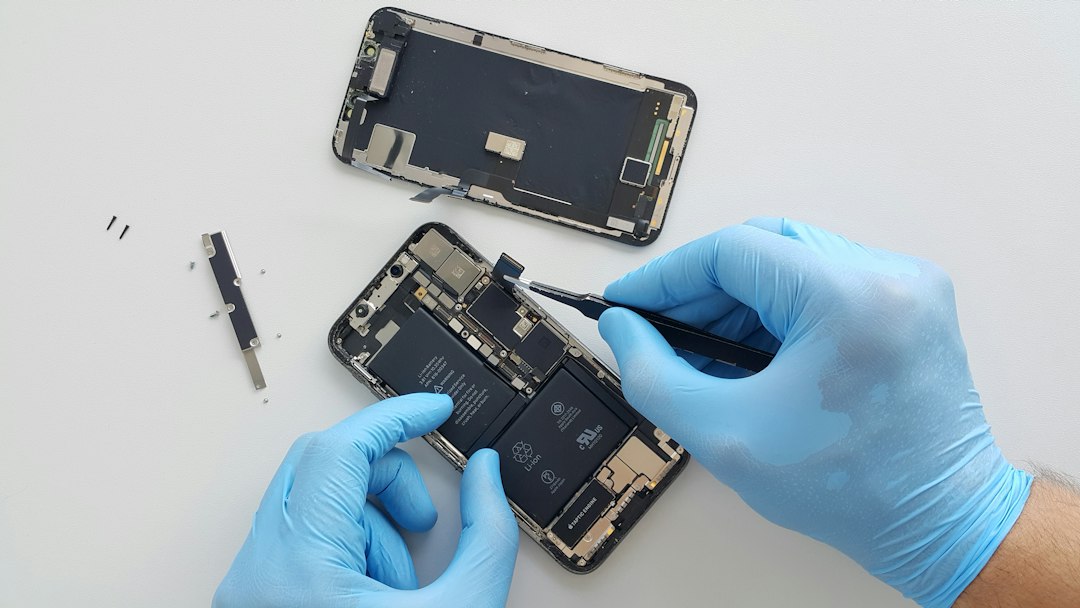
Diagnostic Alternatives Before You Commit
You have several ways to verify the issue before paying for a new display.
Apple Support remote diagnostics can check battery health, sensors, system errors, and some display-related behavior. It may not “see” every visual defect, but it creates a useful service record. Apple Stores and Apple Authorized Service Providers can also inspect the display under controlled lighting.
Built-in iOS clues can help too. Check Settings > General > About for Parts and Service History on supported models. If the screen was replaced before, that context matters. A low-quality or poorly installed panel can develop uneven brightness sooner than an original display.
Screen test images are useful for home checks. Test white, black, red, green, blue, and 50% gray. A pressure spot often shows clearly on white. OLED uniformity issues often show on gray. Dead pixels and stuck pixels are easier to spot on solid colors.
Independent repair diagnostics can be helpful if the shop is reputable. Ask for a written estimate and ask whether they see signs of liquid, frame bending, battery swelling, or prior repair. A serious shop should be able to explain the likely cause without pushing you into immediate replacement.
Repair Quality and Cost Considerations
Screen repair cost depends on the iPhone model, warranty status, AppleCare coverage, and part type. OLED screens cost more than LCD screens. Genuine parts also cost more, but they reduce the risk of poor brightness, weak touch response, Face ID problems, or warning messages.
Before approval, ask these questions:
- Is the replacement display genuine, refurbished original, or aftermarket?
- Will True Tone remain available after repair?
- Is there a warranty on the part and labor?
- Will water resistance be resealed?
- Can the technician check the battery for swelling?
Water resistance is worth asking about. After any screen opening, the adhesive seal is disturbed. A good repair should include a new seal, but no repair can promise factory-level water resistance forever.
What Not to Do
Avoid pressing hard on the bright spot. Do not use heat guns, freezer tricks, suction tools, or “pixel fixer” videos as a serious fix. Those methods can make damage worse. A stuck pixel video may help with a single stuck pixel, but it will not fix a cloudy pressure mark or damaged backlight layer.
Also avoid wiping the screen with harsh chemicals. Use a soft microfiber cloth, slightly damp if needed. If the spot is under the glass, cleaning will not change it.

Practical Recommendation
Run the settings checklist first. Then do the screenshot test, rotation test, and solid color test. If the bright spot stays fixed across all tests, treat it as a hardware defect and arrange an inspection.
The safest decision is based on behavior, not hope. A setting-related issue changes when settings change. A screen defect stays put. If your iPhone has a fixed bright patch that survives every test, the repair counter is probably where this ends.