OmeTV is one of the most popular random video chat platforms, connecting people across the globe in real-time. Whether you’re using it to meet new friends, practice a language, or just have fun conversations, sometimes you may want to record your sessions for personal memories or content creation. While OmeTV doesn’t offer a built-in recording function, there are several reliable ways to capture both video and audio of your sessions using external tools – either on your PC or your mobile device.
In this article, we’ll explore how to record OmeTV sessions with sound on both PCs and mobile phones. We’ll break down each method, provide helpful tips, and guide you through the legal considerations of recording video chats.
Why Record OmeTV Sessions?
Before we get into the step-by-step guides, it’s worth asking: Why would someone want to record OmeTV sessions?
- Content Creation: Many YouTubers and streamers use OmeTV to create reaction videos, social experiments, or funny compilations.
- Language Learning: Recording conversations can help language learners evaluate and improve their skills.
- Memories: If you’ve had a meaningful conversation, recording it allows you to revisit it later.
- Security: In rare cases where someone experiences inappropriate or harmful behavior, having a recording could be useful as evidence.
Note: Always ensure you have the other person’s consent before recording, especially if you plan to share or post the content publicly. Many regions have strict laws regarding recording without permission.
How to Record OmeTV Sessions on a PC
If you’re using OmeTV on a computer via a web browser, recording sessions is straightforward when you use screen recording software. However, capturing both video and audio from both participants requires a few extra steps.
1. Using OBS Studio (Free Software)
OBS Studio is a free, open-source software that’s widely used for screen recording and streaming. It works well for recording OmeTV sessions with both video and sound.
Steps:
- Download and install OBS Studio from the official website.
- Open OBS and set up a new scene.
- Add a Display Capture or Window Capture source to record your browser window.
- To capture system audio (the other person’s voice), install a virtual audio cable like VB-Audio Cable or use OBS’s built-in audio settings if supported by your system.
- Set your Microphone (your own voice) and Desktop Audio (the other person’s voice) under the audio settings.
- Click “Start Recording” before starting your OmeTV session.
- When done, click “Stop Recording.” The video file will be saved automatically.
2. Using Xbox Game Bar (Windows Only)
For Windows 10 and 11 users, Xbox Game Bar is a built-in tool that allows for quick screen and audio recordings.
Steps:
- Press Windows + G to open Game Bar.
- Enable audio recording via the settings menu.
- Start recording your screen while you’re in the browser chatting on OmeTV.
However, keep in mind that Xbox Game Bar may not always capture browser audio effectively depending on your audio-routing settings. You may need additional software for best results.
How to Record OmeTV Sessions on Mobile Devices
Recording on smartphones is a bit trickier due to system limitations, especially when it comes to capturing internal audio (i.e., the other person’s voice). That said, it’s entirely possible with the right tools and permissions.
1. For Android Devices
Many modern Android devices come with built-in screen recording features. If your phone doesn’t have one, numerous apps on the Google Play Store can help, such as AZ Screen Recorder or Mobizen.
Steps (Using Android 10+ built-in screen recorder):
- Swipe down from the top of the screen to access the Quick Settings menu.
- Look for and tap on “Screen Recorder.”
- Enable audio recording and choose to capture both microphone and device audio if available.
- Start the OmeTV session in the browser or app.
- Tap “Record,” then “Stop” when you’re finished.
Tip: Some Android versions restrict internal audio recording unless you’re using a rooted device. In that case, using a third-party app with root access or connecting the phone to a PC for pass-through recording might be required.
2. For iOS Devices
Apple devices offer a straightforward built-in screen recorder, but due to privacy restrictions, recording internal audio (such as the OmeTV user’s voice you’re chatting with) can be a challenge.
Steps:
- Go to Settings > Control Center and ensure “Screen Recording” is added.
- Swipe down from the top right of the screen to open Control Center.
- Long-press the screen recording icon and turn on the microphone.
- Start your OmeTV session in the Safari app or mobile app.
- Press “Start Recording,” and tap the red bar at the top of the screen to stop.
Unfortunately, iOS doesn’t allow internal audio recording from third-party apps unless you’re using specific hardware or screen recording solutions via a Mac.
Professional Tools and Accessories
If you’re planning on recording OmeTV sessions regularly for content creation, you might want to invest in external hardware or professional software:
- Capture Cards: Useful if you want to record mobile device sessions through a computer.
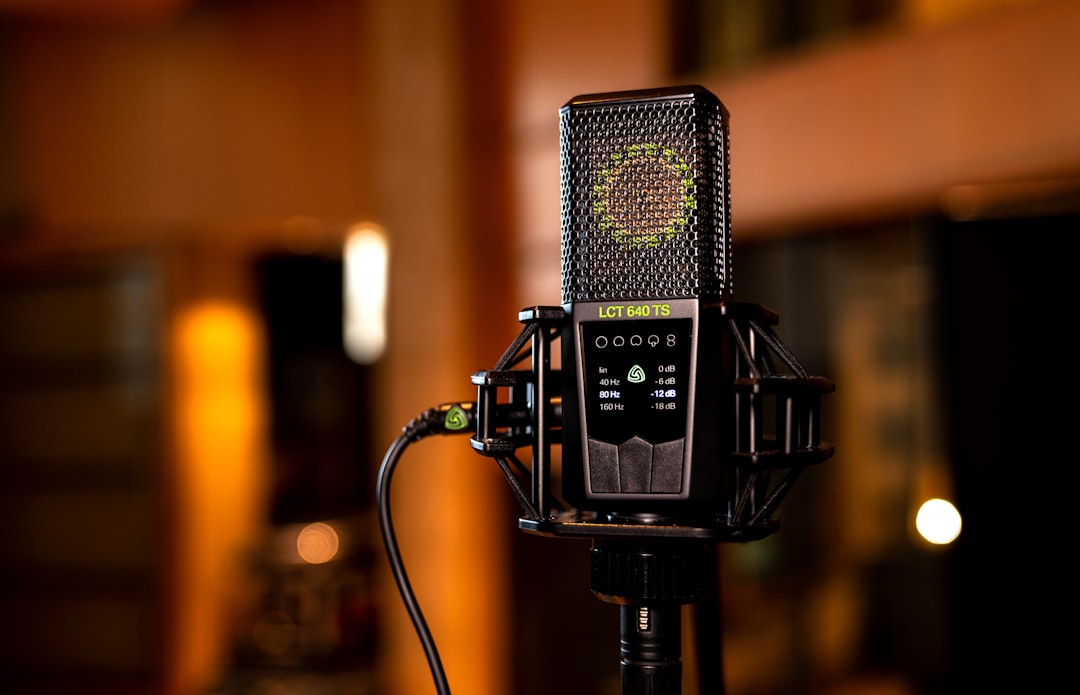
- External Microphones: Dramatically enhance your audio quality.
- Multi-channel recorders: If you’re involving multiple audio sources, devices like Zoom H6 can help isolate sound channels.
Tips for Better Recording Quality
Recording a clean and high-quality OmeTV session depends not only on software but also how you set up your space. Here are some pro tips:
- Lighting: Use natural light or a ring light to ensure you are clearly visible.
- Network Stability: Good internet reduces video lag and improves audio sync. A wired Ethernet connection is ideal for PC users.
- Background Noise: Use noise-canceling apps or record in a quiet room for better audio results.
- Test Recordings: Always do a short test clip to check sound levels and sync before starting a full session.
Legal Considerations
While the technical process of recording OmeTV is relatively easy, the legal aspect is crucial.
In many regions, consent from all parties is legally required to record audio and video conversations, even for personal use. Always inform the other party that you are recording and, if possible, get their verbal confirmation on the recording itself. If you are creating content for platforms like YouTube or TikTok, this step is even more critical to avoid copyright or privacy infringements.
In Conclusion
Recording OmeTV sessions with sound is entirely achievable using tools available on both PC and mobile platforms. Whether you’re doing it for content creation, language learning, or just to preserve an interesting conversation, following the right steps ensures your recordings are high quality and legally sound.
Remember to always respect the privacy and consent of others, and you’ll turn your OmeTV experiences into shareable moments or helpful learning tools with ease.
