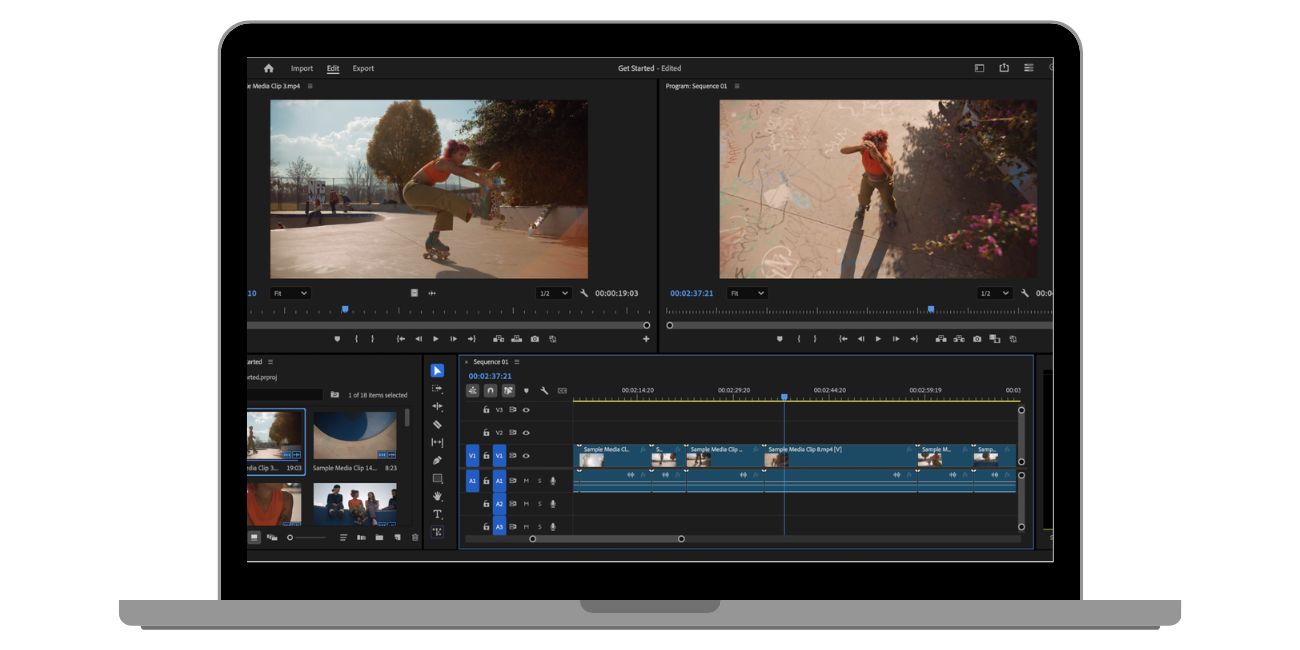
Choppy video playback in Adobe Premiere Pro can turn editing into a slow fight. The program starts to lag, frames drop, and the timeline feels stuck. It’s not fun when every cut takes seconds to show.
Most editors face this when working with 4K or high-bitrate footage. The goal here is simple: help you make playback smoother in Premiere Pro. You’ll learn small changes that speed things up without losing quality.
Premiere Pro depends on how your system, footage, and settings work together. Once those lines line up, playback speeds up.
What Causes Lag and Stuttering in Premiere Pro
 Playback lag happens when your system can’t process video fast enough. The causes aren’t the same for everyone, but these are the usual ones:
- Footage in H.264 or HEVC format (these codecs are heavy on CPU and GPU)
- Working with 4K, 6K, or 8K clips without proxies
- Effects, Lumetri Color, or motion graphics, adding GPU load
- Slow drives, like HDDs instead of SSDs or NVMe
- Media cache stored on a full or external drive
- Sequence settings not matching the video frame rate
Premiere uses the Mercury Playback Engine to handle video. If GPU acceleration is off, it runs only on the CPU. That slows down timeline scrubbing and real-time playback.
Quick Fixes You Can Try Right Away
Some small changes make playback smoother fast. Try these first:
- Lower the playback resolution from Full to ½ or ¼ in the Program Monitor.
- Turn off High-Quality Playback in the same menu.
- Enable GPU Acceleration in File > Project Settings > General.
- Clean your Media Cache (Edit > Preferences > Media Cache).
- Close browser tabs or other heavy apps when editing.
- Move your project files and cache to an internal SSD.
These steps help most users right away. You’ll notice smoother timeline scrubbing, fewer dropped frames, and quicker response from the Program Monitor.
Using Proxies and Transcoding to Boost Performance
When you edit high-resolution or long-GOP footage, Premiere has to decode every frame. That’s slow. The fix is simple: use proxies or transcoded files.
Proxies are low-resolution copies of your clips. Premiere swaps them in for editing and switches back to full-res at export. You can create them while importing footage with the Ingest option in the Media Browser.
If you prefer, transcode your clips to an editing-friendly format like ProRes LT or DNxHD. These codecs store each frame fully and are easier for the CPU and GPU to read.
Using proxies or intraframe codecs gives you smooth playback even on mid-range hardware.
Match Sequence Settings with Footage
A mismatch between your footage and sequence slows playback. If your clips are 24 fps and the sequence is 60 fps, Premiere creates fake frames. That adds load.
To fix it:
- Right-click the clip in the Project panel
- Choose “New Sequence from Clip”
This auto-matches resolution, frame rate, and aspect ratio. If you still see lag, check if your clip uses variable frame rate (VFR). Convert it to a constant frame rate using Adobe Media Encoder or HandBrake before importing.
Control Effects and Timeline Load
Heavy effects can overload your system, mainly Lumetri Color or Warp Stabilizer. Try these steps to lighten playback:
- Turn off Lumetri scopes while editing
- Use the FX toggle button to disable all effects temporarily
- Render complex parts using Sequence > Render In to Out
- Mute unused video and audio tracks
- Pre-render titles or heavy motion graphics
Doing this helps the Mercury Playback Engine focus only on what’s visible. You’ll notice smoother movement in the Program Monitor.
Hardware and System Settings That Matter
Premiere Pro runs better when your hardware is set right. Here’s what helps:
- RAM: Allocate more memory to Premiere. Go to Preferences > Memory and adjust settings.
- GPU: Keep your graphic drivers up to date. Use NVIDIA Studio or AMD Pro drivers if available.
- Storage: Keep media, cache, and project files on separate SSDs or NVMe drives.
- Audio Hardware: Set audio input to “None” if you don’t record live. This often fixes timeline lag.
- Background Apps: Close heavy software like Chrome, After Effects, or OBS when editing.
If playback still stutters, monitor your CPU and GPU usage. It might show which part is the bottleneck.
Keep Premiere Running Smooth Long Term
Good maintenance keeps Premiere responsive over time. Make this a habit:
- Clear your media cache every few weeks
- Keep at least 20% free space on your system drive
- Update Premiere Pro and your GPU driver often
- Avoid editing directly from SD cards or network drives
- Use “Render and Replace” for complex compositions
These steps keep your editing sessions fast and clean. Even big projects feel lighter when the cache and drives are healthy.
Conclusion
Smooth playback in Premiere Pro isn’t magic. It’s about the balance between hardware, footage, and settings. Clean cache, use GPU acceleration, match your sequence, and don’t overload the timeline.
Once you get that balance, editing feels quick again. Try these steps today and see how your timeline moves.
If this helped, share it with another editor or drop your questions in the comments. Honest feedback keeps this guide growing for everyone.


