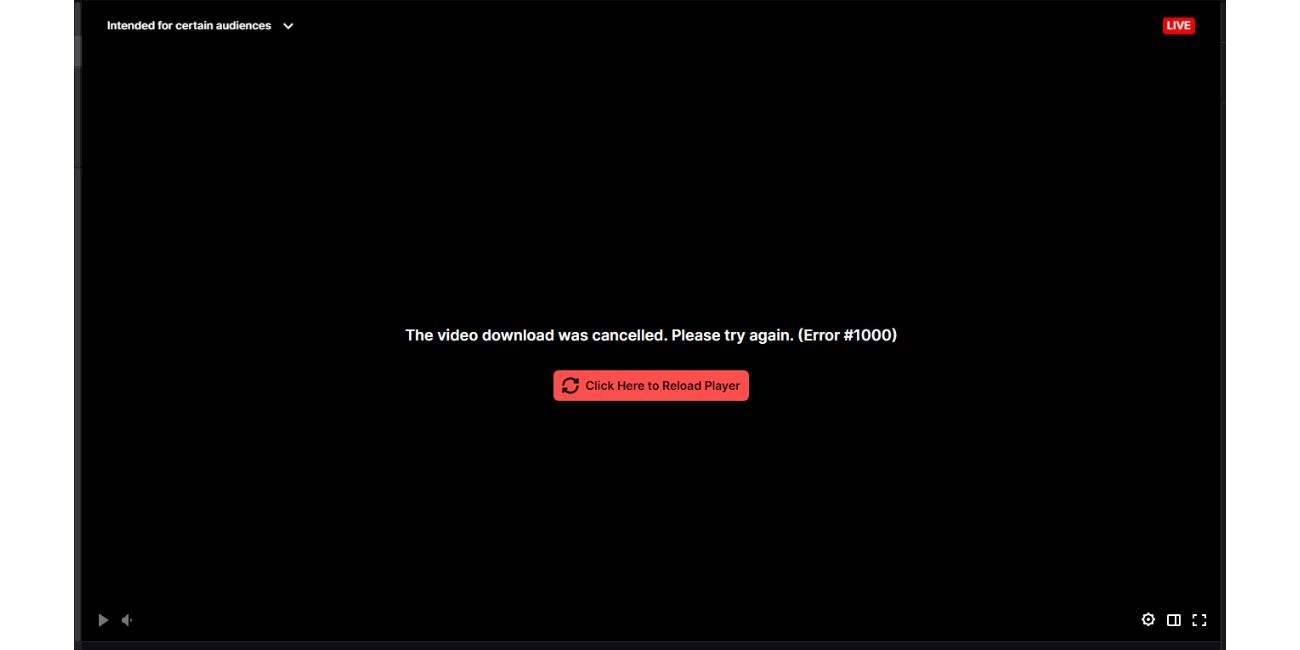
If you’ve ever tried to watch or share a favorite Twitch clip only to be met with the frustrating message, “Whoops, something went wrong”, you’re not alone. This vague error can appear for a variety of reasons and often leaves users scratching their heads. Whether you’re a streamer trying to promote your content or a viewer trying to relive an epic moment, this error can put a pause on your Twitch experience. Fortunately, there are several steps you can take to troubleshoot and potentially fix this issue.
What Causes the “Whoops, Something Went Wrong” Error?
This error is a generic message that Twitch displays when it encounters trouble loading a clip. The lack of detail can make it difficult to diagnose, but generally, the causes fall into a few key categories:
- Network or connectivity issues on the user’s end.
- Twitch server errors or downtime.
- Invalid or expired clip URLs.
- Browser-related issues, including extensions or outdated cache.
- Geo-restrictions or content moderation settings.
Let’s take a comprehensive look at how you can solve this problem and get back to enjoying your favorite Twitch content.
1. Check Twitch Server Status
Before diving into settings and configurations on your end, it’s a smart idea to check if the issue is due to Twitch itself.
- Visit Twitch’s official status page.
- You can also use third-party websites like DownDetector to see if others are reporting issues.
If there are widespread reports of downtime or issues with the clips service, your best course of action is to wait it out.
2. Refresh the Page or Try a Different Clip
This may sound overly simplistic, but the error can sometimes be caused by a one-time failure to load a clip.
- Simply press Ctrl + F5 (or Cmd + Shift + R on Mac) to force a hard refresh of the page.
- Try loading a different Twitch clip to determine whether the issue is universal or specific to one clip.
If other clips are working, it’s a sign that the specific URL you’re trying to access may be broken or no longer available.
3. Clear Your Browser Cache and Cookies
Corrupted cached data and cookies can affect how websites function, including Twitch.
Here’s how you can clear your cache:
- Go to your browser settings (e.g., Chrome: Settings > Privacy and Security > Clear browsing data).
- Select Cached images and files and Cookies and other site data.
- Choose a time range (e.g., “All time”) and click Clear data.
After this, reload Twitch and try accessing the clip again.
4. Disable Browser Extensions
Some browser extensions, especially ad blockers and script blockers, may interfere with Twitch’s functionality.
To test whether extensions are the culprit:
- Open an incognito or private browsing window.
- Navigate to the Twitch clip URL there.
If the clip works in incognito mode, try disabling extensions one by one in your regular session to identify the one causing the problem.
5. Try a Different Browser or Device
If you continue to experience issues, try opening the clip on a different web browser or device. If the clip works elsewhere, the problem is likely related to browser configuration or compatibility on your main device.
Recommended browsers for Twitch include:
- Google Chrome
- Mozilla Firefox
- Microsoft Edge
Also, make sure your browser is up-to-date to avoid any compatibility issues with Twitch’s latest features.
6. Inspect the Clip URL
Sometimes, the problem lies in the format or accuracy of the URL itself. If a clip has been deleted, made private, or the link was copied incorrectly, you will see the “Whoops, something went wrong” error.
To troubleshoot the link:
- Double-check that the link does not contain any extraneous characters or spaces.
- Try accessing the streamer’s clip section directly by visiting https://www.twitch.tv/<StreamerName>/clips.
If the clip has been deleted or removed for DMCA or Terms of Service violations, there is unfortunately nothing you can do to retrieve it.
7. Disable VPN or Use a Different Network
Using a VPN or certain network configurations can sometimes interfere with Twitch’s delivery services. Twitch may block or throttle unusual or suspicious traffic sources, especially if the VPN’s IP is flagged.
Try the following:
- Temporarily disable your VPN or proxy service and reload the clip.
- If you’re on a school or workplace network, try switching to mobile data or a different Wi-Fi connection.
If the clip loads after changing networks, it’s likely that your original network was the issue.
8. Flush DNS and Reset Network Settings
If you suspect a deeper network issue, flushing your DNS cache and resetting network configurations might help.
On Windows:
ipconfig /flushdnsOn macOS:
sudo dscacheutil -flushcache; sudo killall -HUP mDNSResponderBe cautious when resetting network settings—make sure you know your Wi-Fi passwords and network details beforehand.
9. Embed Restrictions on External Sites
If you’re trying to view a Twitch clip embedded on a third-party website, the error could be related to permissions or embed policy changes. Twitch gives streamers the capability to modify how their content can be shared externally.
To circumvent this:
- Click the clip title or Twitch watermark to open it directly on Twitch.
If it still fails on Twitch’s own platform, the issue is more likely related to the original clip status or your user-side configuration.
10. Contact Twitch Support
If none of the above steps work, you may need to reach out to Twitch Support directly. Include the following details in your report for a faster resolution:
- The exact clip URL causing the issue.
- Your browser version and device.
- A short summary of all troubleshooting steps already performed.
You can submit your request via the Twitch Help portal at help.twitch.tv.
Conclusion
While the “Whoops, something went wrong” error may seem mysterious and frustrating at first, it’s typically caused by manageable issues such as browser conflicts, bad URLs, or simple cache problems. By systematically testing each of the possibilities outlined above, you’ll increase your chances of resolving the issue quickly.
Remember: technology doesn’t always work perfectly, but with the right tools and knowledge, you can usually find a fix.
Don’t let a broken Twitch clip ruin your viewing or sharing experience! Try these steps, and you’ll be back to enjoying the best moments from your favorite streams in no time.
