
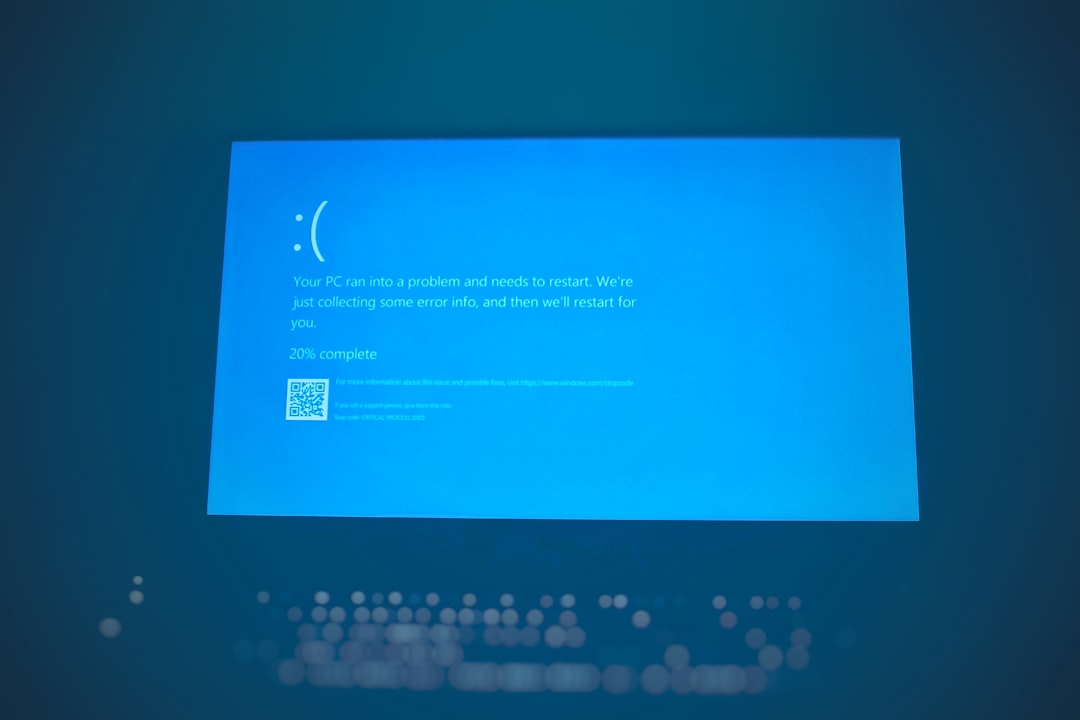
The dreaded USBXHCI.SYS blue screen error is one of the more frustrating BSOD (Blue Screen of Death) issues a Windows user may encounter. It usually appears with stop codes such as SYSTEM_THREAD_EXCEPTION_NOT_HANDLED or similar, and points to a failure in the USB XHCI (eXtensible Host Controller Interface) driver, which is responsible for managing USB 3.x ports. Whether you’re an average user or a tech enthusiast, experiencing random crashes because of this issue can be maddening. Fortunately, there are several effective ways to address and fix the problem.
What Causes the USBXHCI.SYS Blue Screen Error?
Understanding the cause of this error helps you better resolve it. Here are the most common culprits:
- Corrupt, outdated, or incompatible USB drivers
- Faulty hardware, especially USB controllers or ports
- System file corruption within Windows
- Conflicts between drivers or third-party software
Let’s walk through the most effective solutions for resolving the USBXHCI.SYS blue screen error on your Windows machine.
1. Update or Reinstall USB Drivers
The first step when dealing with USB driver-related errors is to update your USB drivers. Here’s how to do it:
- Right-click the Start button and select Device Manager.
- Expand the section called Universal Serial Bus controllers.
- Right-click every instance of USB Root Hub and USB xHCI Compliant Host Controller and choose Update driver.
- Select Search automatically for drivers.
If Windows can’t find a new driver, it might be helpful to visit your PC or motherboard manufacturer’s website and download the latest USB drivers manually.

2. Use System File Checker (SFC) and DISM Tools
Corrupted system files can often lead to driver malfunctions. Microsoft provides two useful built-in tools: SFC (System File Checker) and DISM (Deployment Image Servicing and Management). Use them in this order:
- Open Command Prompt as Administrator.
- Type:
sfc /scannowand press Enter. - Wait until the scan and potential fixes complete.
- Then type:
DISM /Online /Cleanup-Image /RestoreHealth.
These tools will detect and replace any damaged files, which might help stop the USBXHCI.SYS error from recurring.
3. Check for Windows Updates
Sometimes, a pending Windows update includes critical patches that address known driver issues. To check for updates:
- Go to Settings > Windows Update.
- Click Check for updates.
- Download and install any available updates.
Reboot your system afterward and see if the blue screen persists.
4. Uninstall Conflicting Software
Have you installed new third-party software recently? Especially tools that interact with your hardware (such as virtual machines, USB tools, or system optimizers)? These can cause conflicts leading to the USBXHCI.SYS error.
Try uninstalling any recently added programs:
- Go to Settings > Apps.
- Sort the list by Install date.
- Remove any suspicious or recently added apps.
Once removed, restart your PC and observe whether the issue is resolved.
5. Check Hardware Connections and Replace Faulty Peripherals
Hardware problems can’t be ruled out. If a USB port or device is malfunctioning, it can easily lead to blue screens. Consider these steps:
- Remove all external USB devices and plug them in one by one to identify faulty ones.
- Switch USB ports, especially between USB 2.0 and USB 3.0 ports.
- Test the system without external peripherals connected.
If the BSOD only happens with a specific USB device plugged in, that device could be the culprit.
6. Perform a System Restore
If the issue started recently and you have System Restore enabled, this could be your best bet for a quick fix.
- Type System Restore in the Start menu search bar.
- Select a restore point prior to the onset of the blue screen issue.
- Follow the prompts to restore your system settings and files without affecting your personal documents.
This method is particularly handy if the error started happening after a system or software change.
Conclusion
While the USBXHCI.SYS blue screen error can feel like a major roadblock, the right combination of driver updates, system tools, and hardware checks can effectively eliminate it. Always begin with the simplest fixes like updating drivers and checking for Windows updates. If those don’t work, gradually escalate your troubleshooting efforts.
With a bit of patience, your Windows system can be back to stable operation in no time.
