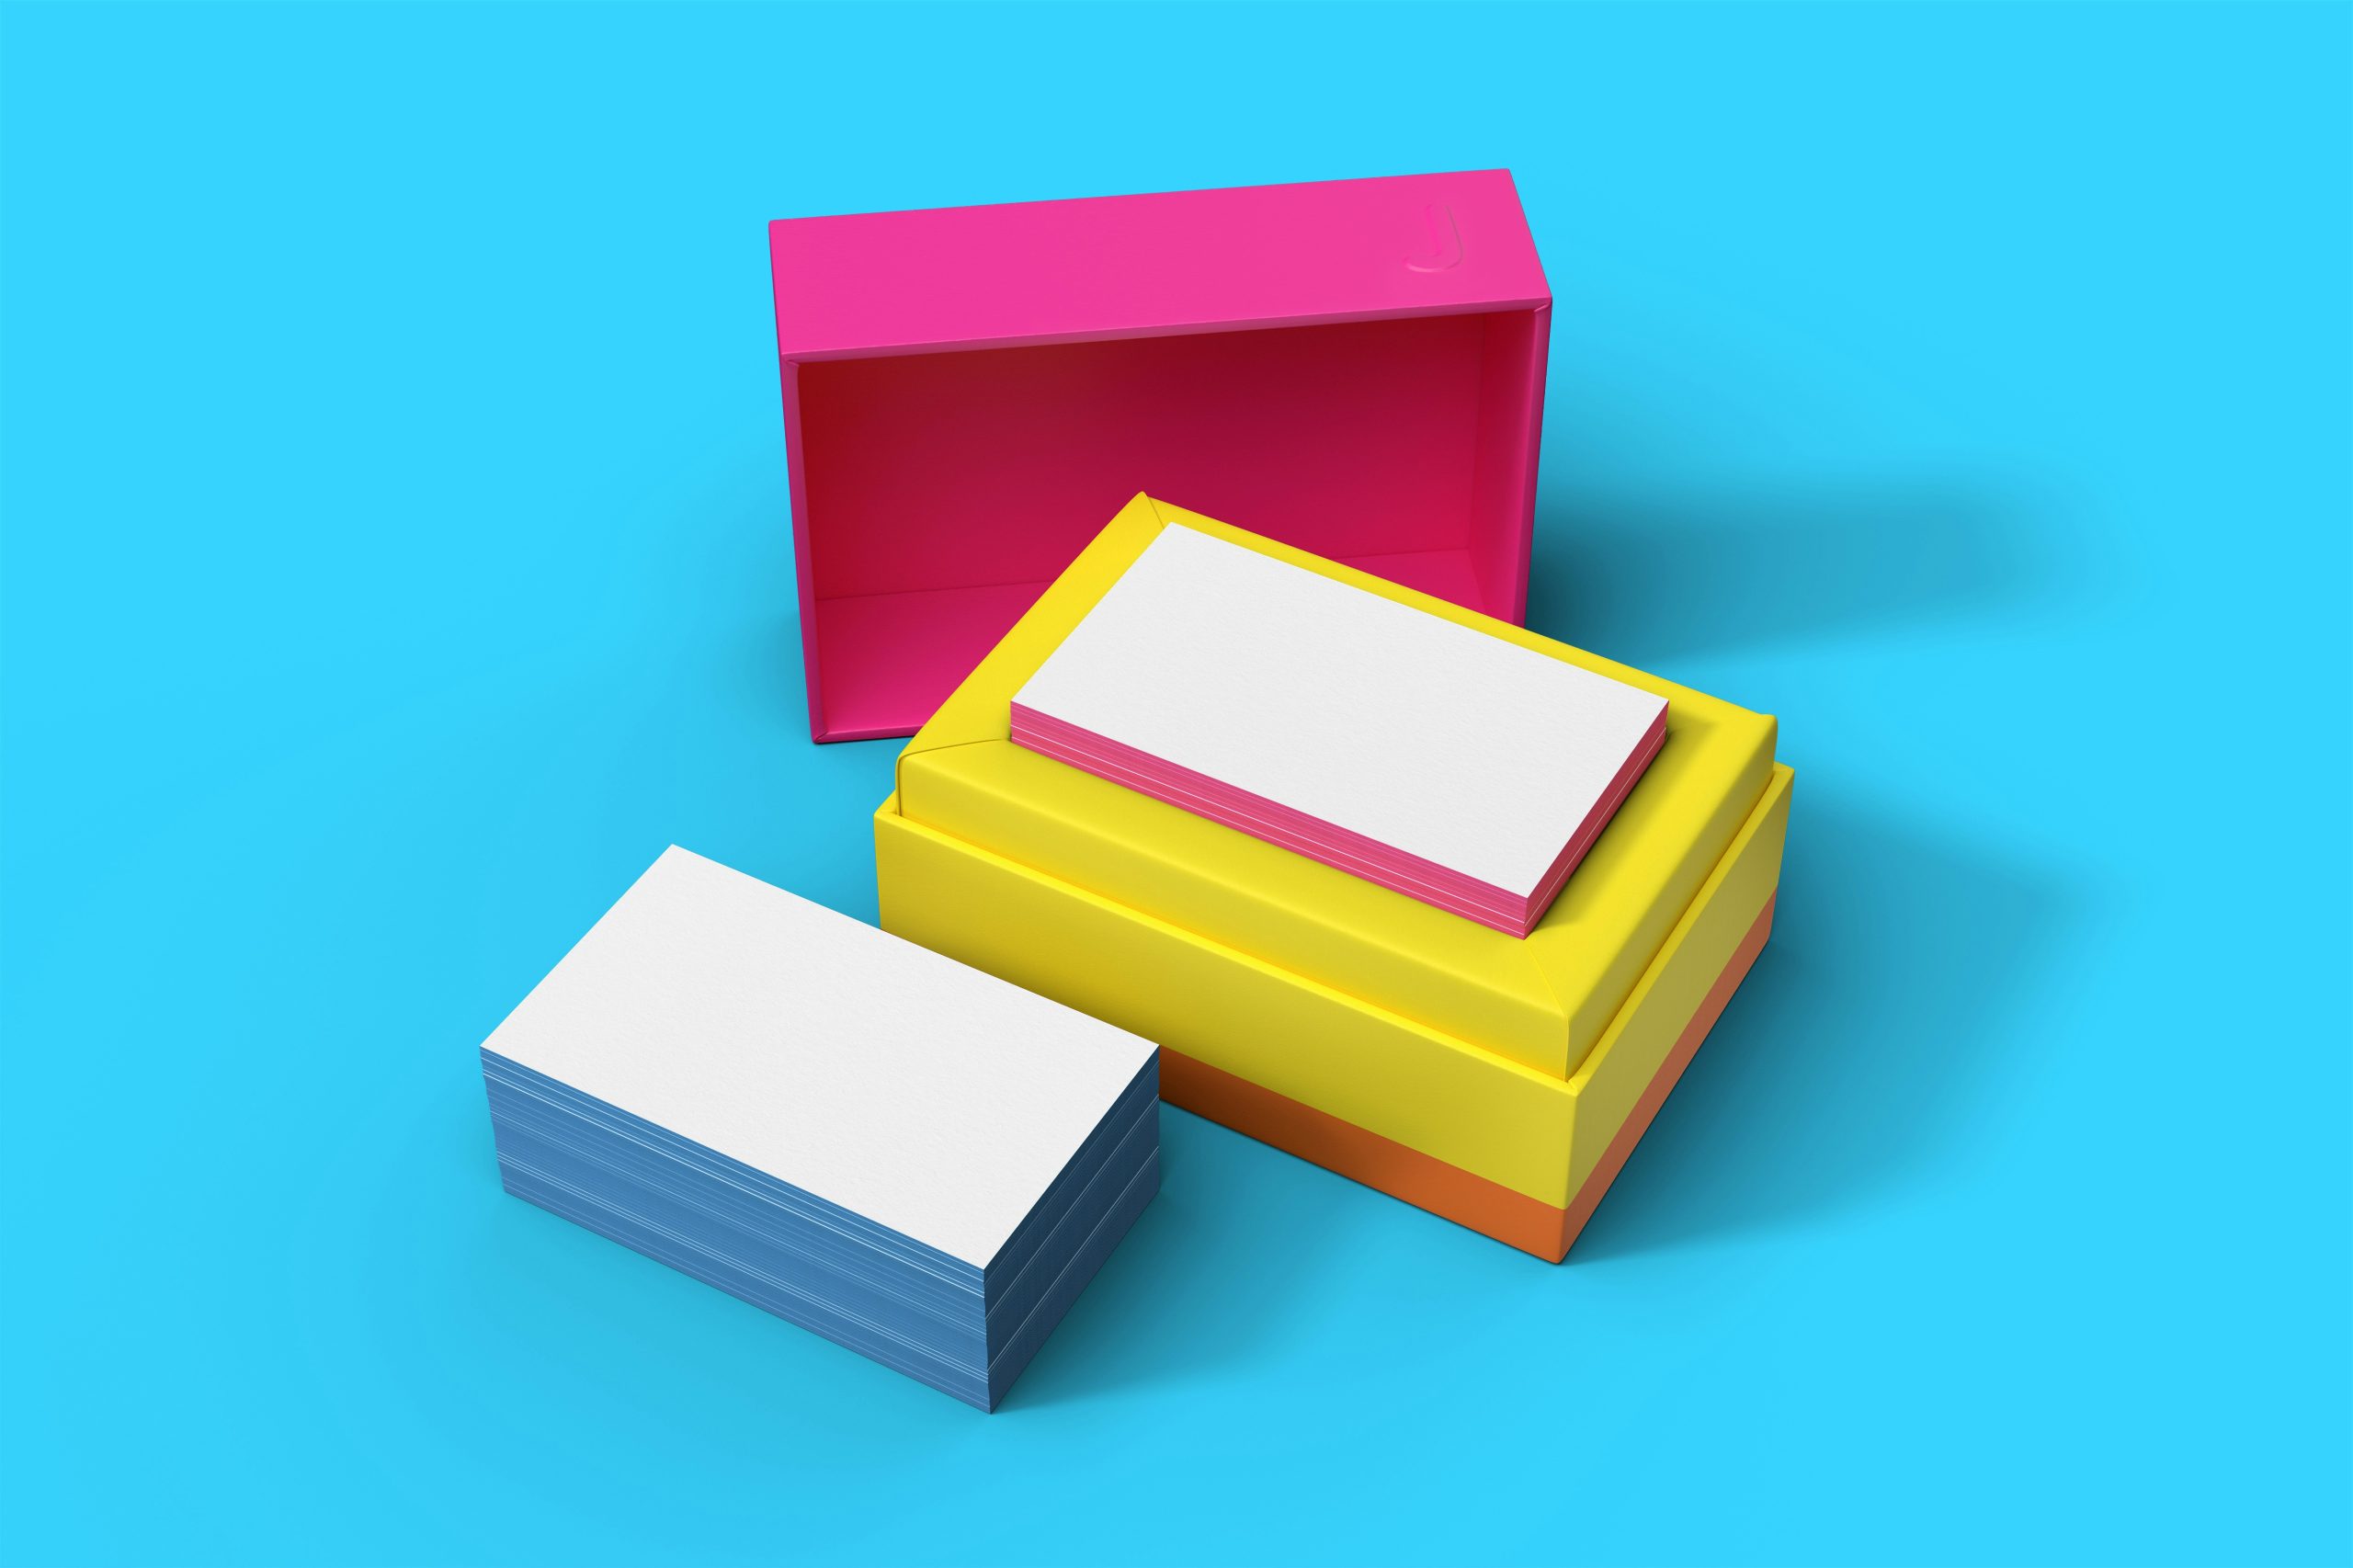
Printing cards with colors that extend all the way to the edge of the paper, known as “full bleed” printing, can elevate the look and professionalism of your cards. Whether you’re designing business cards, invitations, or greeting cards, achieving a full bleed ensures no unsightly white borders. Here’s a comprehensive guide on how to print your cards with colors all the way to the edge.
Understanding Full Bleed Printing
Full bleed is a printing term that refers to a document which has images or elements that extend to the edge of the page, leaving no white margin. To achieve this, the document is printed on larger paper and then trimmed down to the final size.
Steps to Print Cards with Full Bleed
1. Design with Bleed in Mind
When creating your design, you need to start with a document size that includes bleed areas. The bleed is an extra space around the edges of your design, typically 1/8 inch (0.125 inches) or 3 mm on all sides. This extra space will be trimmed off after printing, ensuring the colors go all the way to the edge.
– Software Settings:
– Adobe Illustrator/Photoshop: Set up your document with an additional 0.125 inches on each side. For instance, if you’re designing a 5×7 inch card, set the document size to 5.25×7.25 inches.
– Canva: Use the “Resize” feature and add a 0.25 inch total to both the height and width.
– Other Software: Look for options to set bleed or extend the canvas size accordingly.
2. Extend Your Background
Ensure all background colors, images, or designs extend into the bleed area. This ensures that when the card is trimmed, there will be no white edges.
– Example: If you have a background color or image, make sure it extends beyond the intended final size of your card into the bleed area.
3. Keep Important Elements Within the Safe Zone
All critical text and elements should be within a “safe zone,” typically 1/8 inch inside the trim line. This prevents important parts of your design from being cut off during trimming.
– Guidelines: Create guides in your design software to mark the safe zone. For a 5×7 inch card, keep crucial elements at least 0.125 inches away from each edge, within a 4.75×6.75 inch area.
 Printing Process
1. Choose the Right Printer
Not all printers are capable of printing full bleed. Here are your options:
– Professional Printing Services: Best for high-quality and high-volume printing. Services like Vistaprint, Moo, or local print shops offer full bleed printing.
– Home Printers: Some high-end home printers support borderless printing. Check your printer’s specifications and settings to enable borderless printing.
2. Setting Up Your Printer
If you are using a home printer that supports borderless printing:
– Printer Settings: Go to your printer settings and select the borderless printing option. This can usually be found under the “Page Setup” or “Print Settings” menu.
– Paper Size: Ensure the paper size in your settings matches the size of your card, including the bleed area.
3. Printing and Trimming
– Print on Larger Paper: If your printer does not support borderless printing, print your card on a larger sheet of paper and then trim it down.
– Trim Precisely: Use a ruler and a craft knife or a paper cutter to trim the excess bleed area, cutting precisely along the trim lines to ensure a clean edge.
Troubleshooting Common Issues
1. White Edges After Trimming
– Check Bleed Settings: Ensure your bleed area was correctly set up and that your background extends into this area.
– Print Alignment: Make sure the paper is correctly aligned in the printer and not shifting during printing.
2. Misaligned Designs
– Printer Calibration: Some printers need to be calibrated for accurate printing. Check your printer manual for calibration instructions.
– Print Preview: Always use the print preview feature to ensure your design is correctly aligned before printing.
Printing cards with colors that extend to the edge of the paper enhances their aesthetic appeal and professional quality. By designing with bleed, using appropriate printer settings, and carefully trimming the cards, you can achieve perfect full bleed prints. Whether you opt for a professional print service or use a capable home printer, following these steps will ensure your cards look exactly as you envision them.
