 logo
logo
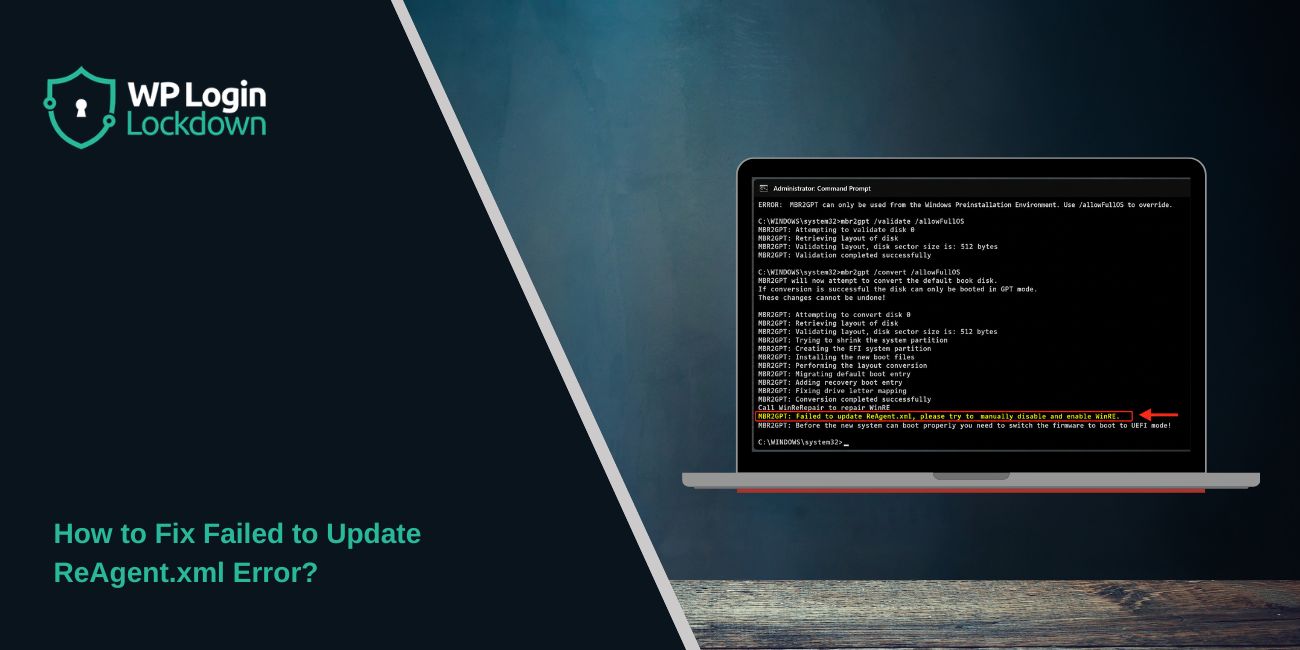
The “failed to update ReAgent.xml” error usually shows up when Windows has a problem with its recovery setup. You may see it during Windows Update, while running a repair command, or when Windows is trying to set up recovery tools in the background.
This error sounds scary because the file name looks technical. But in simple words, Windows is saying it can’t update the file that stores recovery settings. Your PC may still run fine, but Windows Recovery Environment, also called WinRE, may not be working correctly.
In this guide, we’ll go through the safer checks first. Then we’ll move into deeper fixes like DISM, SFC, WinRE path repair, and recovery partition checks.
What Is ReAgent.xml in Windows?
ReAgent.xml is a Windows file that stores recovery settings. Windows uses it to know where the recovery tools are, where the recovery image is stored, and how to start Windows Recovery Environment when needed. That recovery image is usually linked with a file called winre.wim. You don’t normally open or edit ReAgent.xml yourself. It works quietly in the background, and you only notice it when Windows can’t update it or when WinRE stops working.
A simple way to think about it: ReAgent.xml is like a small map for Windows recovery tools.
Why Does Failed to Update ReAgent.xml Happen?
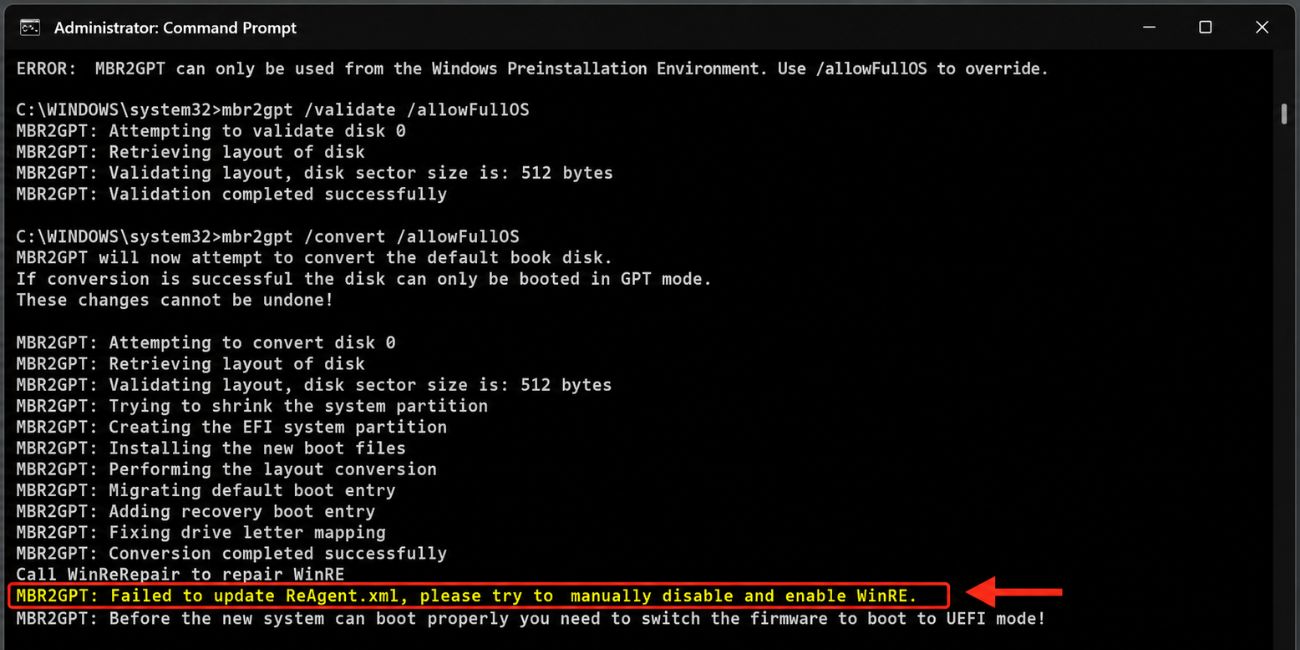 This error usually happens because Windows can’t update or read the recovery setup properly. It may happen after a Windows Update, during a repair process, or when the recovery partition has a problem. Most of the time, it’s a local PC issue, not a Microsoft server issue.
Common causes include:
- Windows Recovery Environment is disabled
- The winre.wim file is missing or moved
- ReAgent.xml has an old or broken path
- The recovery partition is too small
- System files are damaged
- Command Prompt was not opened as administrator
- Windows Update cache is causing repeat errors
- OEM recovery partition layout is confusing Windows
How to Fix Failed to Update ReAgent.xml?
Start with the WinRE status check first. If Windows Recovery Environment is only disabled, the fix may be simple. If the recovery path is broken, or the recovery partition is too small, then you’ll need the deeper fixes later in the guide.
Before running commands, make sure you’re using an administrator account. Some WinRE commands won’t work in a normal Command Prompt window. If you see “access denied” or the command does nothing, that may be the reason.
1. Run Command Prompt as Administrator
The first thing to do is open Command Prompt with admin rights. ReAgent.xml and WinRE settings are part of Windows recovery, so normal permission is not enough.
Here’s how you can open it properly:
- Click the Start button.
- Type cmd.
- Right-click Command Prompt.
- Choose Run as administrator.
- Click Yes if Windows asks for permission.
You can also use Windows Terminal as administrator. The main point is simple: the command window must have admin access before you run reagentc, DISM, or SFC commands.
2. Check WinRE Status With reagentc /info
Now check whether Windows Recovery Environment is enabled or disabled. This tells you what Windows currently knows about its recovery setup.
Run this command:
reagentc /info
Look for Windows RE status. If it says Enabled, WinRE is turned on. If it says Disabled, Windows recovery is not active right now. Also check the Windows RE location. If the location is blank or looks wrong, Windows may not know where the recovery image is stored.
This check doesn’t fix the problem by itself. But it gives you a clear starting point, and that matters.
3. Disable and Re-enable WinRE
If WinRE is stuck, disabling and enabling it again can refresh the recovery setup. This can also help Windows rebuild the recovery configuration linked with ReAgent.xml.
- Run these commands one by one:
- reagentc /disablereagentc /enable
- After that, check the status again:
- reagentc /info
If the status changes to Enabled, good. Restart your PC and check if the update or repair process works again. If reagentc /enable fails, don’t force it. That usually means Windows can’t find the recovery image or the recovery path is broken.
4. Run DISM and SFC to Repair Windows Files
Damaged Windows files can also stop ReAgent.xml from updating correctly. DISM and SFC are built-in repair tools. DISM checks the Windows image, while SFC checks protected system files.
- Run Command Prompt as administrator, then use this command first:
- DISM /Online /Cleanup-Image /RestoreHealth
- When it finishes, run this:
- sfc /scannow
These scans can take some time, so let them finish. Don’t close the window in the middle. After both commands are done, restart your PC and run reagentc /info again. If system file damage was the issue, WinRE may work normally after this.
5. Check If winre.wim Is Missing
The winre.wim file is the recovery image Windows uses for repair tools. If this file is missing, moved, or not linked correctly, Windows may fail to update ReAgent.xml.
You can check common recovery locations like:
- C:\Windows\System32\Recovery
- A hidden Recovery partition
- A manufacturer recovery folder on some laptops
If you don’t see winre.wim, don’t download a random copy from the internet. That’s not safe. The better option is to repair Windows files, use proper Windows installation media, or set the correct recovery path if the file exists somewhere else on your PC.
6. Set the Correct WinRE Path
If you found winre.wim but Windows is pointing to the wrong place, you can set the recovery image path again. This is useful when reagentc /info shows a blank or wrong Windows RE location.
The command format looks like this:
reagentc /setreimage /path C:\Windows\System32\Recovery
Your path may be different, so don’t copy it blindly if your winre.wim is stored somewhere else. Use the folder where the file is really located.
After setting the path, run:
reagentc /enablereagentc /info
If Windows accepts the path, the status should show Enabled. If it still fails, the recovery image or partition may need more work.
7. Check the Recovery Partition Size
Some Windows updates need enough space in the recovery partition. If the partition is too small, Windows may fail while updating recovery files, and that can trigger ReAgent.xml errors.
Open Disk Management and look for a Recovery partition. Don’t change anything yet. Just check what you have.
| What You See | What It May Mean |
|---|---|
| Recovery partition exists and has space | The problem may be path, cache, or system files |
| Recovery partition is very small | Windows Update may not have enough room |
| No clear recovery partition | WinRE may be stored somewhere else |
| Multiple recovery partitions | Old upgrade leftovers may be confusing Windows |
Be careful here. Looking is fine. Changing partitions is the part where you should slow down.
8. Free Space or Resize the Recovery Partition Carefully
If the recovery partition is too small, it may need more space. This is an advanced fix, and it’s not the kind of thing you should do fast. A wrong partition change can affect boot or recovery.
Before doing anything, back up your important files. Then check your partition layout in Disk Management. Some users can free space by removing old recovery files, but others may need to resize partitions with a proper tool.
If you’re not sure what the recovery partition is, stop there. It’s better to ask a technician than delete the wrong partition. This is one of those fixes where being careful saves time later.
9. Reset Windows Update Components
If the ReAgent.xml error appears during Windows Update, the update cache may be part of the problem. Windows can keep retrying the same broken update files, and the error comes back again.
A simple way is to stop Windows Update services, clear update cache folders, then start services again. The common folders involved are SoftwareDistribution and Catroot2. Since these are system update folders, follow a trusted Windows Update reset method and restart your PC after doing it.
After the restart, check for updates again. If the update cache was causing the loop, Windows may download fresh files and continue normally.
10. Use Windows Installation Media for Repair
If recovery files are missing or badly broken, Windows installation media can help repair the system. This is usually a later option, not the first thing to try.
You can create Windows installation media using Microsoft’s official tool, then use it for repair options or a repair install. If you choose a repair install, read every screen carefully. Pick the option that keeps your files and apps only if that is what you want.
Still, back up your files first. Windows repair is usually safe when done correctly, but it’s not something to treat casually.
11. Contact Microsoft Support or a Technician
If the error still won’t go away, and the issue involves missing winre.wim, broken partitions, or failed reagentc commands, it may be time to get help. That’s especially true if this is your main work PC.
Before contacting support, keep these details ready:
- Screenshot of the error
- Result of reagentc /info
- Windows version
- What update or repair started the error
- DISM and SFC results
- Screenshot of Disk Management if partition help is needed
Don’t feel bad about stopping here. Recovery partition problems can be tricky, even for people who use Windows a lot.
Prevention Tips to Avoid ReAgent.xml Errors
You can’t prevent every Windows recovery error, but you can reduce the chance of seeing it again. The main thing is to avoid deleting recovery files or changing hidden partitions unless you really know what they do.
Try these simple habits:
- Keep Windows updated
- Don’t delete the recovery partition to save space
- Keep enough free space on your main drive
- Run SFC if Windows starts acting strange
- Avoid random cleanup tools that remove system files
- Back up files before major updates
- Don’t move or rename recovery folders manually
Final Thoughts
The “failed to update ReAgent.xml” error usually means Windows has a problem with its recovery setup. Start with reagentc /info, then try disabling and enabling WinRE. After that, repair system files with DISM and SFC.
If the problem is still there, check winre.wim and the recovery partition. Just be careful with partition changes. That part needs patience.
Did this error appear during Windows Update, or while you were running a repair command? Comment which one happened.